Your First Location
A place for everything. On purpose.
Designated helps you keep track of everything you own — organized by where it actually lives, from the room down to the exact bin or drawer. Here's how to get set up and add your very first Location.
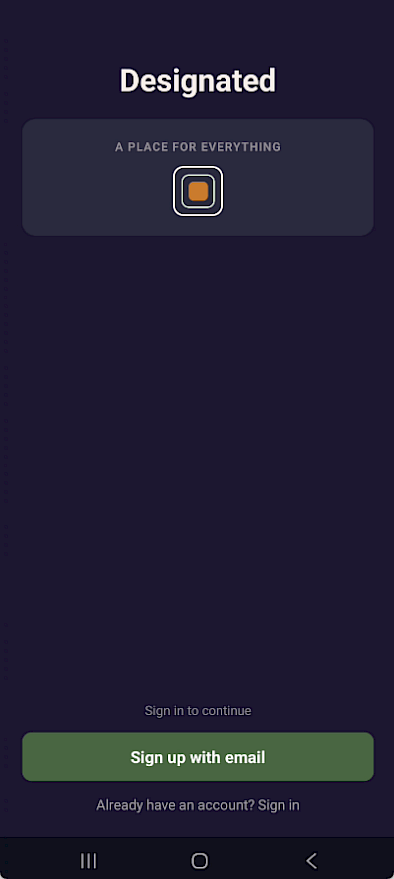
Open Designated and tap "Sign up with email."
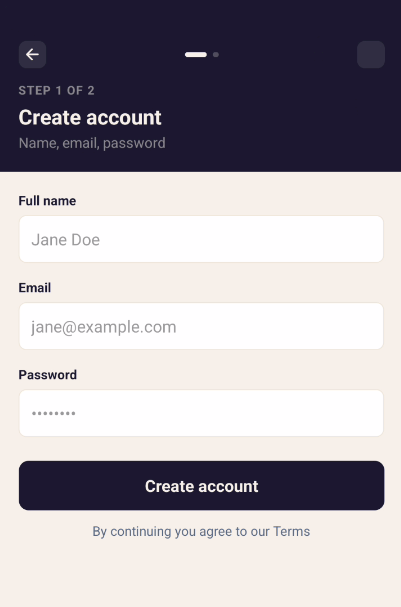
Enter your email and choose a password — that's it, no lengthy forms. Already have an account? Tap "Already have an account? Sign in" instead.
Step 2: Grant Permissions
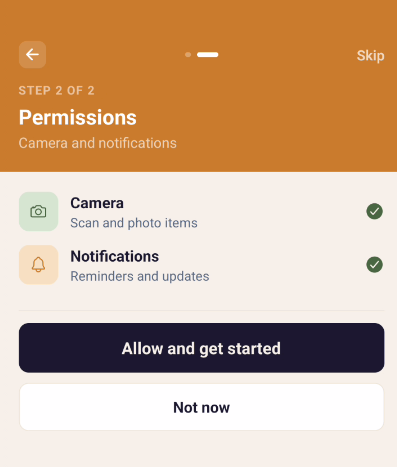
Next, Designated will ask for a couple of permissions to make the app work smoothly:
- Camera access — so you can snap photos of your items and locations directly in the app
- Notifications — so you can stay on top of reminders down the road
Both are optional, but we recommend allowing them for the full experience.
Step 3: Welcome to Designated!
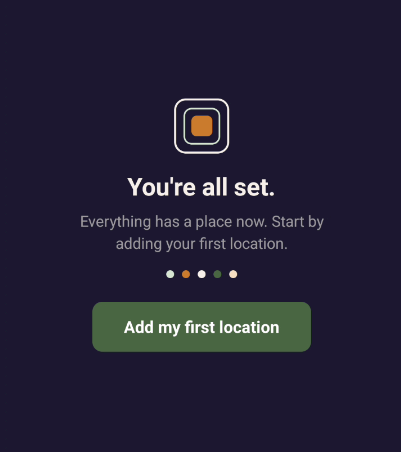
Once you're set up, you'll land on a celebration screen — you're in! Tap "Add my first location" to jump straight into organizing.
Step 4: Add Your First Location
A Location is the top level of your organization system — think "Home," "Garage," "Storage Unit," or "Office." Everything else you add later (Zones, Containers, Items) will live inside a Location.
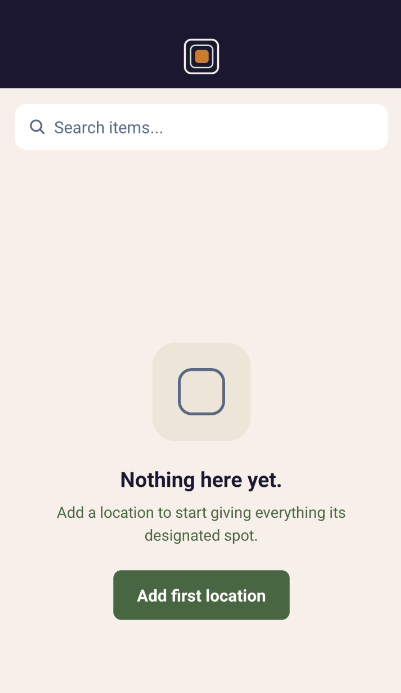
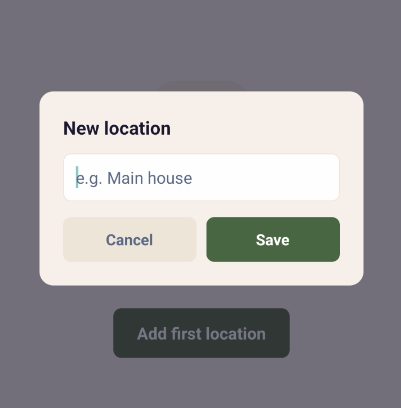
You'll land on your Home screen, which starts empty. Tap the + button (or the prompt to add your first location) and give it a name — something simple like "Home" works great to start.
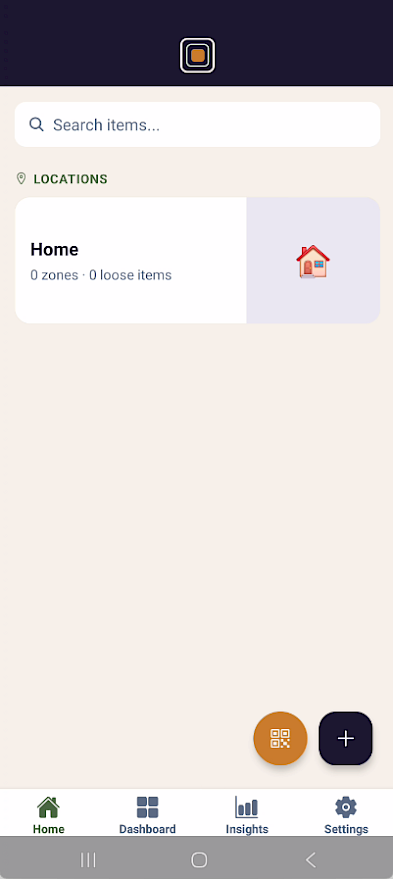
Once saved, your first Location has been added! Now you'll see your new Location on the 'Home' screen. You can now select your Location, to access the Location's detail page
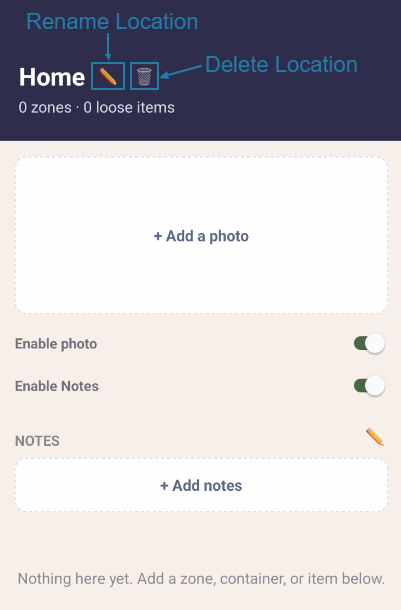
This is where you can add a photo and notes to your Location. This is also where you'll later start building out the Zones and Containers inside it. The Location Detail screen has 4 controls to adjust.
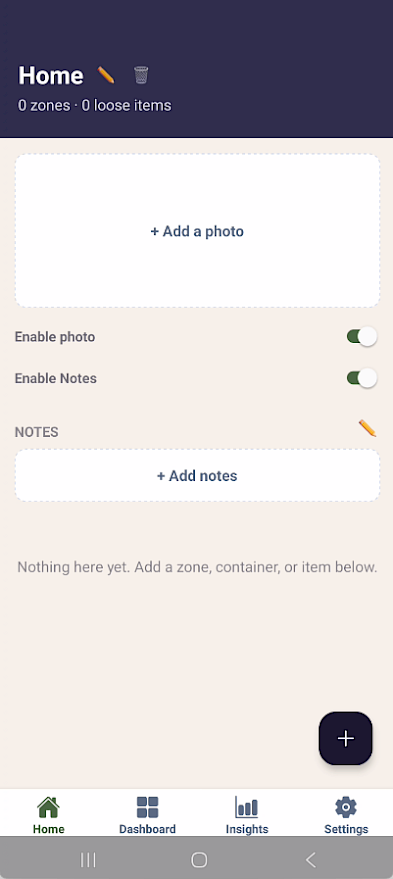
Location Controls
- The Pencil icon allows you to rename your Location.
- The Trash icon deletes the Location.
- Enable photo
- Enable Notes
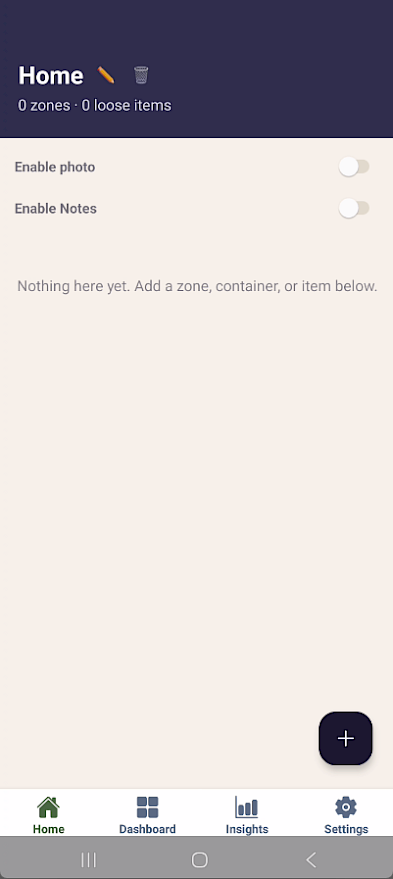
'Enable photo' and 'Enable Notes' is defaulted to on. If your Location doesn't need an image, just slide the toggle to off and the photo area will be minimized. The Same goes for the Notes.
This is what the Location Detail screen looks like when you toggle the Photo and Notes to off:
That's it — you've created your account and set up your first Location. From here, you can start adding Zones (like "Closet" or "Shelving Unit"), Containers (bins, boxes, drawers), and finally the Items themselves, each with photos, categories, and notes.